|
Supplies:
Sculpey clay tool starter set
Liquid Sculpey
STEP 1
Getting Started:
Please make sure your work area is covered and
you are not working on an unprotected surface. We recommend working on the
Sculpey® Oven Safe Work Mat, wax paper, metal baking sheet, or disposable foil.
Uncured Liquid Polymer Clay may damage unprotected furniture or finished
surfaces. Be sure to cover your crafting area appropriately. - Stir Liquid
Sculpey® completely. Thin with Sculpey® Liquid Clay Softener as needed - Wash hands
after use (we have found that baby wipes work best)
Baking:
•It is important to use oven thermometer when
you bake the liquids so that you can ensure your oven is at the correct
temperature.•Do not microwave the liquids. They must be baked in a Preheated
oven at 275 ºF (130 ºC) for liquid colors and 300 ºF (149 ºC) for Clear – Do
not exceed baking temperatures.•If your piece is less than 1/4” bake for 15
minutes. For thicker pieces that are 1/4” or above bake for 30 minutes. •If
your liquid project has become yellowed or discolored in the oven, when you
remake it, tent it by placing either – folding an index card in half and
placing your project under it or by using aluminum foil over your project.
STEP 2
First, we will tint the Liquid Sculpey® (LS)
to make four different shades - two blues, and two greens. Remove the lids from
both of the LS bottles. Stir each one completely using the knife tool. The
Clear LS will have a lump of sediment in the bottom which is common. This lump
should be stirred completely back into the liquid. Clean the tool with paper
towel after each color. Replace the caps on the bottles.
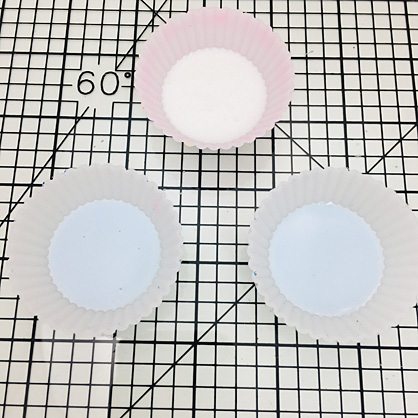
Pour 2-3 Tablespoons of Clear LS into one of
the silicone cups. Pour 2-3 Tablespoons of Translucent Turquoise LS (TTLS) into
each of the other silicone cups.
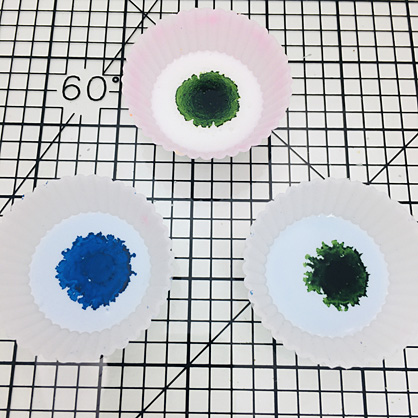
STEP 3
Place one drop of green alcohol ink in the
Clear LS cup.
Place one drop of green alcohol ink in one of
the TTLS cups.
Place one drop of blue alcohol ink in the
remaining TTLS cup.
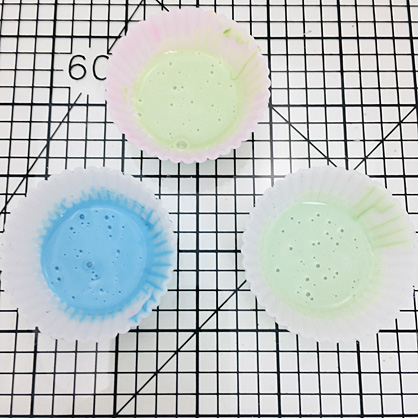
STEP 4
Mix each cup completely with the knife tool.
Clean the tool with paper towel after each color.
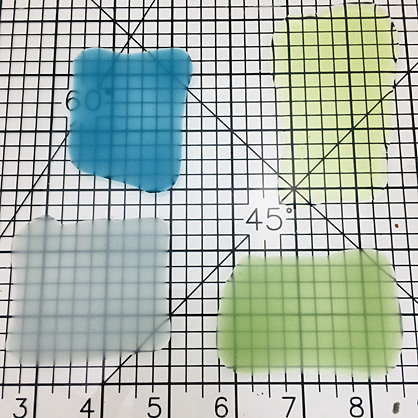
STEP 5
Pour half of each color onto a piece of glass.
I’m using a glass cutting board that has markings on it just to help me pour
relatively straight. The fourth color on the glass is an area of TTLS that is
not tinted with any alcohol ink but squirted straight from the bottle.
STEP 6
Use the knife tool to make sure the color
areas are all very smooth.
STEP 7
Bake the color squares on the glass following
the baking instructions for LS.
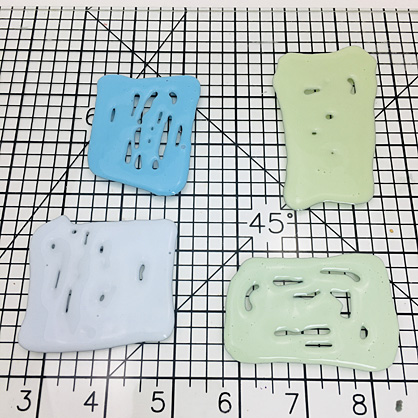
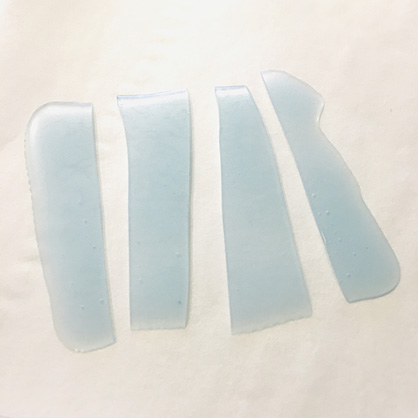
STEP 8
Carefully peel each piece from the glass. Cut
the pieces first into long strips.
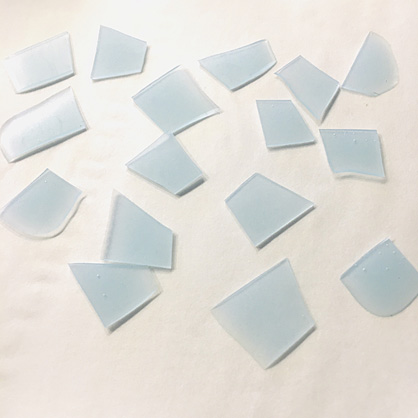
STEP 9
Then cut the strips into angular tiles. The
TTLS pieces are my smallest shapes.
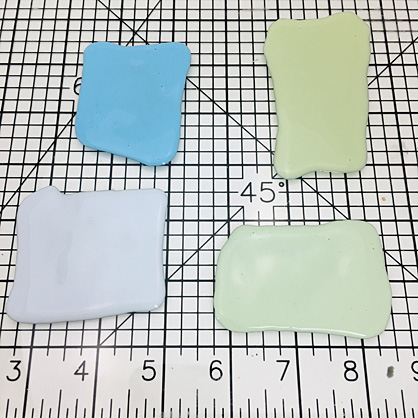
STEP 10
I cut the TTLS with the blue tint a little bit
larger.

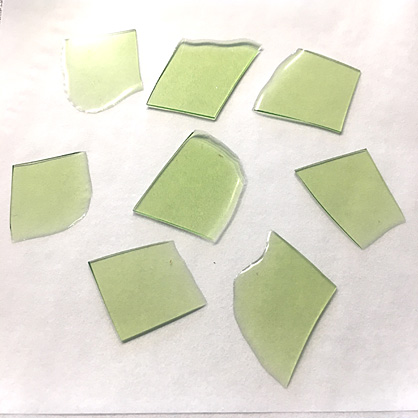
STEP 11
My Clear green pieces are a little bit larger.
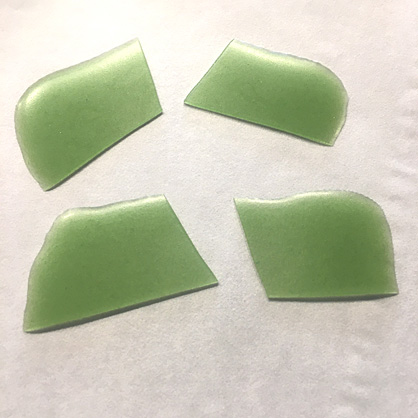
STEP 12
Finally the TTLS green pieces are the largest
and only four of them.
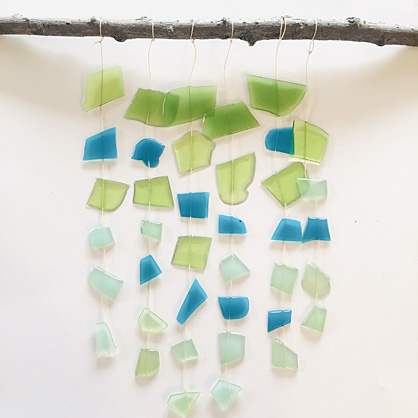
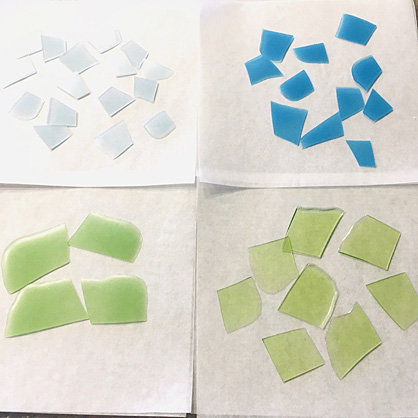
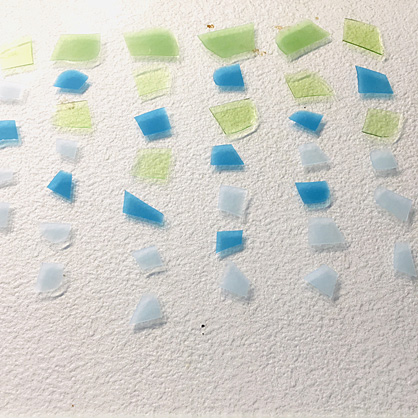
STEP 13
Here’s a look at how all the different pieces
compare to each other in size and quantity.
STEP 14
Lay the pieces out on a piece of glass in rows
with larger pieces generally at the top and smaller pieces generally at the
bottom. I laid mine out in six vertical rows.
STEP 15
Lay a piece of string or monofilament on top
of one of the rows of shapes. Tape the string below the bottom shape to the
glass. Pull the string so that it goes tight and straight across the center of
each shape. Tape the string to the glass again above the shapes but leave
enough extra so that you can tie the string to the stick in a square knot
later. Repeat so that each row of shapes has a string running across it and
taped above and below the pieces onto the glass.
.jpeg)
STEP 16
Drip small amounts of the matching color over
the string and on top of the shape sandwiching the string between the baked
shape and the liquid layers.
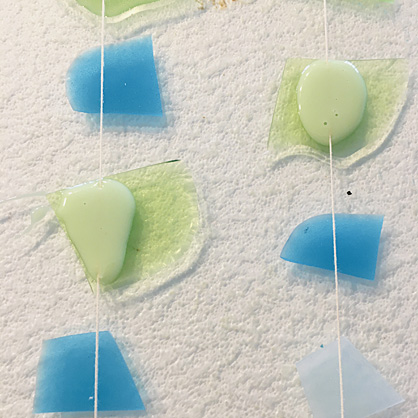
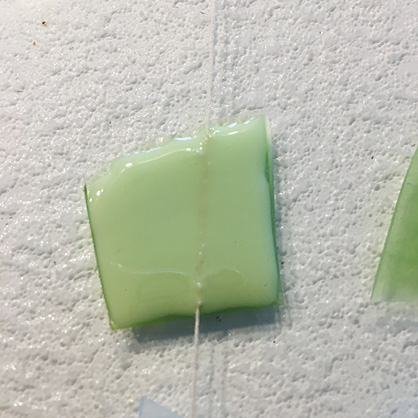
STEP 17
Carefully spread the liquid to the edges of
the baked piece below. Make sure every piece has a fresh layer of matching
color liquid with the string running through it.
STEP 18
Bake the pieces on the glass again following
the baking instructions for LS. When they are completely cool, carefully remove
them from the glass and remove the tape that was holding the rows in place.
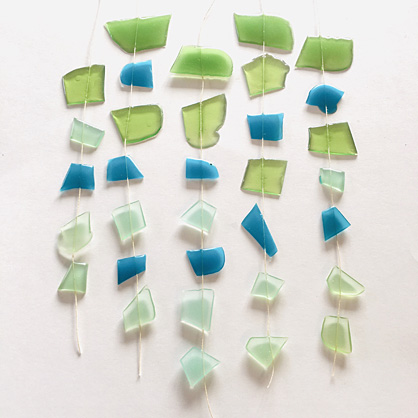
STEP 19
Tie each strand to a natural stick that is
sturdy enough to be supportive of all six strands. Tie each one off in a square
knot. Trim the tails near the knots. Trim the tails of string at the bottom.
|
