|

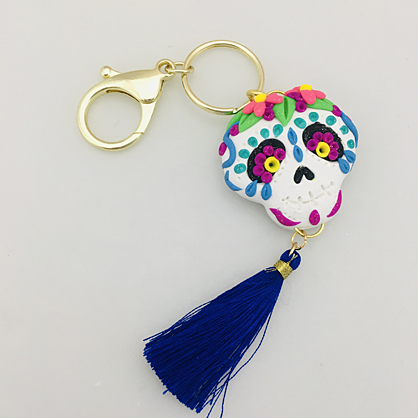
Create this fabulous sparkling Sugar Skull to add to your purse or backpack in just about an hour!
COMPLETION TIME:
60 Minutes to make and bake
Supplies:
Polymer Clay
Clay Blades
Modeling Tools
8mm Gold tone jump rings (4)
Gold tone key chain
Blue tassel
Flat nose pliers
STEP 1
Getting Started:
Please make sure your work area is
covered and you are not working on an unprotected surface. We recommend working
on the Sculpey® Oven-Safe Work Mat, wax paper, metal baking sheet, or
disposable foil. Uncured clay may damage unprotected furniture or finished
surfaces. Be sure to cover your crafting area appropriately.
Start with clean hands, unwrap and
knead clay until soft and smooth, or condition by running clay though a Pasta
Machine. We recommend using a designated machine for clay purposes only. When
working with multiple colors, clean hands with soap and water or baby wipes (we
have found that baby wipes work best) before switching colors. Shape clay,
pressing pieces firmly together. Wash hands after use.
Baking:
Begin by preheating oven to 275 °F (130
°C). After you are done creating; for best results bake clay on an oven-proof
surface such metal, aluminum foil, an index card or the Sculpey® Clay Mat at
275°F (130 °C) for 30 minutes per 1/4" (6 mm) thickness according to
package directions. Oven safe glass or ceramic surfaces are also acceptable for
baking; however please note that the baking times may take longer as the glass
or ceramic surfaces take longer to heat up. For best baking results, use an
oven thermometer. DO NOT USE MICROWAVE OVEN. DO NOT EXCEED THE ABOVE
TEMPERATURE OR RECOMMENDED BAKING TIME.
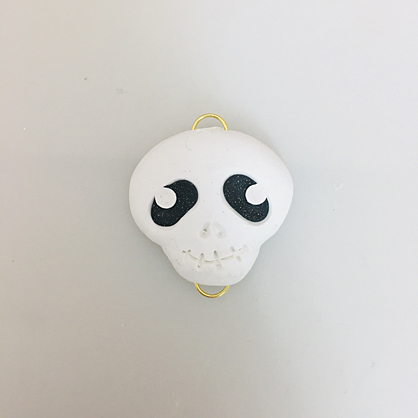
STEP 2
Break off 1/4 bar of the White
Glitter. Make a large oval from 5/6 of the piece of clay and a chin from 1/6.
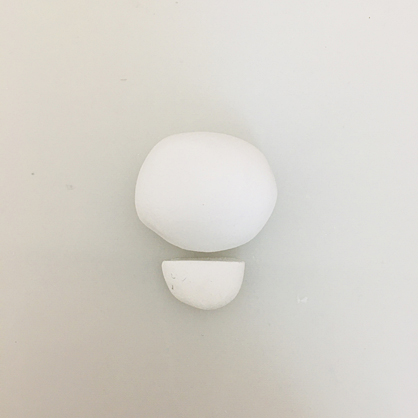
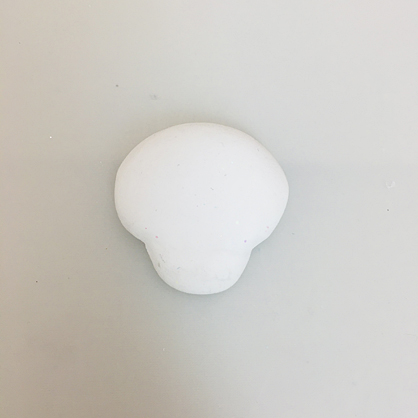
STEP 3
Push the chin piece onto the bottom of
the oval. Press the skull shaped piece down to the work surface to make it flat
on the back and domed on top. Smooth the seam between the chin and the head
with your fingertips.
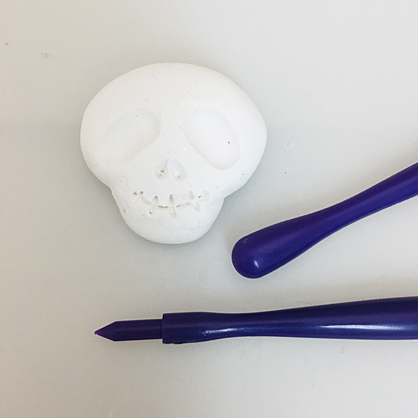
STEP 4
Use the ball end tool to make large
oval shaped eye sockets. Use the point end tool to make nostrils and a toothy
grin.
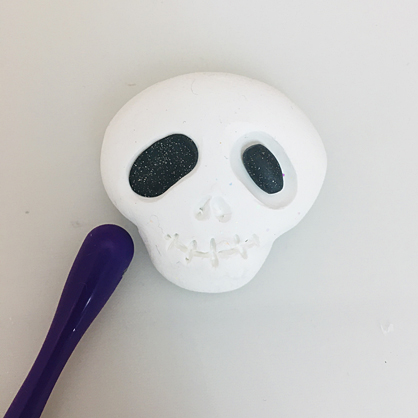
STEP 5
Flatten ovals of Black Glitter and
press them into the eye sockets. Flatten the Black Glitter into the eye sockets
with the ball end tool.
STEP 6
Push the jump rings halfway into the
top of the head and into the bottom of the chin. You can see here that I added
White Glitter highlights. But look at my final photos.... those White Glitter
highlights in the eyes are gone! I did not like them after all and I added
flowers into the eyes instead.
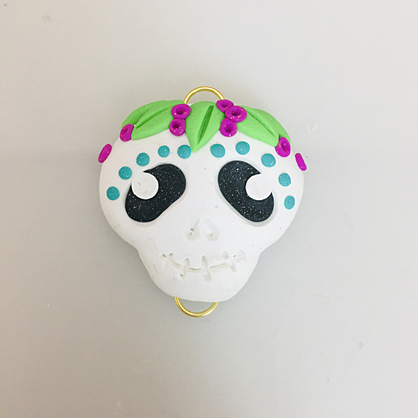
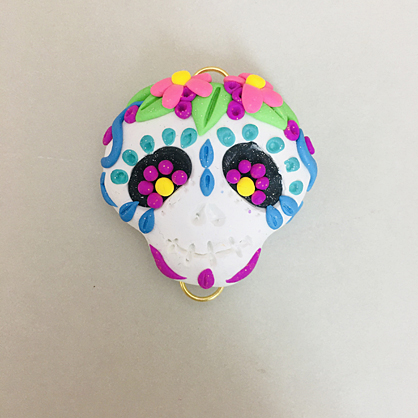
STEP 7
Add a series of tiny Turquoise Glitter
dots along the top of each eye. I mixed equal amounts of Yellow and Turquoise
Glitter together to make Green Glitter. Add little teardrop shaped leaves to
the top of the head.

STEP 8
Add little dots of Violet Glitter dots
in between the leaves. Add details with the blunt ended tool.
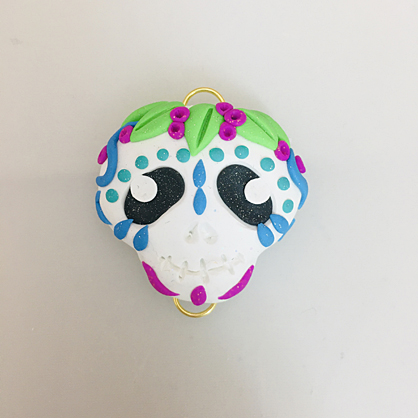
STEP 9
Add teardrops and swirls of Blue
Glitter details. Add some Violet Glitter squiggles to the chin.
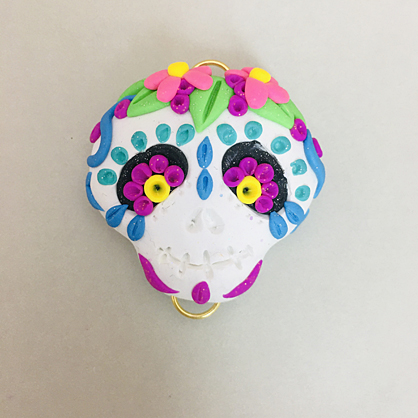
STEP 10
Add Pink Glitter flowers to the top of
the head.
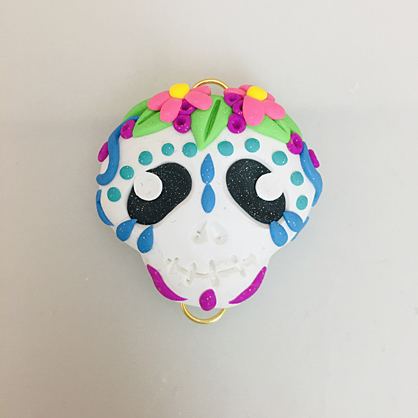
STEP 11
After I scraped the White Glitter
highlights out of the eye sockets, I added Yellow Glitter centers with Violet
Glitter petals.
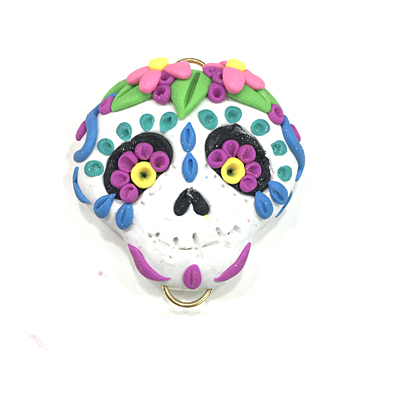
STEP 12
Next, add lots of little doodle details
with the tools. Poke holes in the dots and score lines in the teardrop shapes
to add lots of interest.
STEP 13
I also added tiny bits of Black
Glitter clay to the nostrils.
Bake the Glitter Skull following the
baking instructions for Sculpey III®. Allow to cool completely before handling.
STEP 14
Add the key chain and the tassel with
the extra jump rings and using the flat nose pliers.
|
