|
The Skinner Blend results in a gradation of colors from light to dark
and creates beautiful depth; the Blend was developed by Judith Skinner. It is
important to keep your work space clean and to frequently clean your hands
after using other colors.
Required items:
Clay Machine and Oven
Polymer Clay
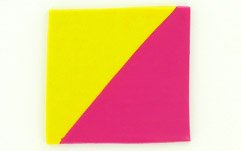
STEP 1
Begin with two colors that you will have
"fade" from one into the other. A general rule of thumb is to use
equal amounts of clay for an even blend (for example, 2 oz of red and 2 oz of white).
Condition separately using a #1 setting on your pasta machine, lighter color(s)
first. The resulting sheets should be the width of your pasta machine. Cut
equal size 90 degree triangles of each color.
STEP 2
Fold the bottom of the joined triangles up to
the top. Insert the folded bottom into the pasta machine, keeping it in the
same orientation when it comes out of the rollers
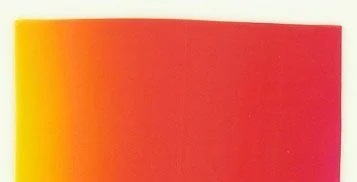
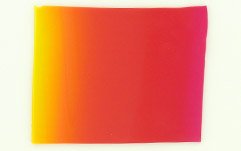
STEP 3
Fold again in the SAME direction and roll
through with the fold inserted FIRST. Repeat 20 times until the blend is smooth
and complete, colors are gradated as shown.
STEP 4
When the blend is complete, run the blended
clay through the pasta machine on a #3 setting.
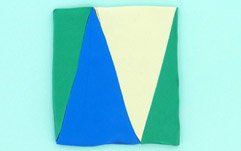
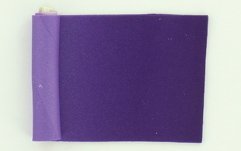
STEP 5
Cut triangles and place together as shown in
the photo below. Note that the outside pieces are just one triangle cut in
half.
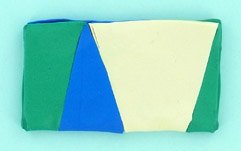
STEP 6
Fold this assembly in half from top to bottom.
Roll through the pasta machine FOLD-FIRST on a #1 setting. Keep folding and
rolling, always in the same direction. This will take about 20 times.
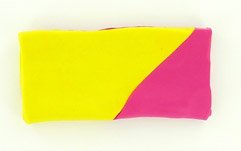
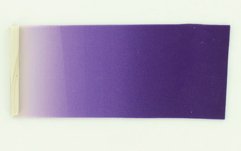
STEP 7
Now you have your final blend. See how the
colors flow! Now, fold in half and roll with a brayer or rod to remove any air
bubbles. You now have 2 layers of clay in a #1 thickness.

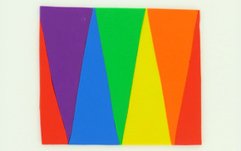
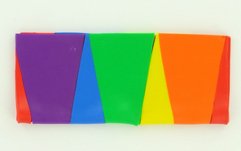
STEP 8
For the rainbow blend, lay your triangles in
the pattern indicated in the photo, following the left to right arrangement of
colors.
STEP 9
Split the red triangle down the middle and put
one half on the other side of the green to create a rectangle. Fold the blend
in half from TOP TO BOTTOM.
STEP 10
Run through your pasta machine, folded portion
first. Continue folding in the SAME direction and running through the machine.
It takes about 20-25 repetitions of these two steps -- don't give up!
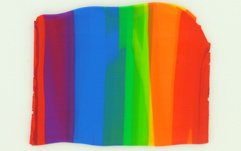
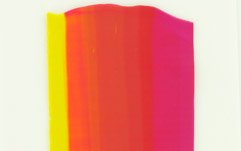
STEP 11
The final blend should look something like
this.

STEP 12
Use the same steps as above to create a Basic
2 Color Blend.
STEP 13
Once your sheet of clay is evenly blended use
your Super Slicer to cut a strip off. Add a small roll of clay to the end of
the sheet, one that is the same as the end color. Roll very tightly.
STEP 14
Reduce the cane slightly, working from the
middle to the outer edges. You can now cut slices off the cane for use in other
projects.
|
